" Achieving Consistency "
Rules before you start.
In the world of visual arts, the preparation and mixing of paints play a crucial role in the outcome of a piece. A well-prepared palette not only aids in achieving the desired hues but also ensures a smoother application and a more cohesive final product. Here's why taking the time to properly prepare and mix your paints is essential:
Achieving Consistency
Consistency in color and texture is fundamental to producing high-quality artwork. When paints are not thoroughly mixed, the result can be an uneven application with streaks or patches of unintended colors. This inconsistency can detract from the intended effect of the painting, making it appear amateurish or unfinished.
Customizing Colors
One of the primary reasons artists mix paints is to create custom colors that are not available straight from the tube. This allows for a greater range of expression and precision in color matching. By mixing colors thoroughly, artists can achieve the exact shades needed for their work, adding depth and vibrancy that can elevate a painting to a new level.
Understanding Color Theory
Proper mixing of paints also involves a fundamental understanding of color theory. Artists need to know how different colors interact with each other to predict the outcome of their mixes. This knowledge helps in creating harmonious palettes and avoiding muddy or discordant colors that can ruin a piece.
Ensuring Stability
Some pigments can separate over time, leading to an unstable mixture. By thoroughly mixing paints, artists ensure that the pigments are evenly distributed, which helps in maintaining the stability of the color throughout the painting process. This stability is crucial for achieving consistent results and avoiding unexpected changes in color as the paint dries.
Enhancing Paint Performance
Properly mixed paints perform better on the canvas. They are easier to apply, spread more evenly, and adhere better to the surface. This can reduce the need for multiple layers and corrections, saving time and effort in the long run.
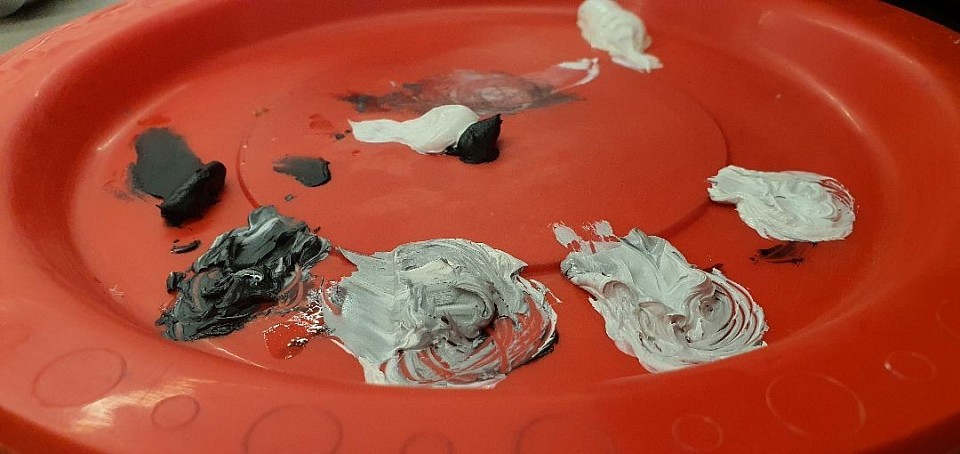
Preparing the Palette
A well-prepared palette, like the one shown in the image, allows for efficient and effective painting. Artists can quickly access the colors they need without stopping to mix new ones, maintaining the flow and momentum of their creative process. The arrangement of colors on the palette can also aid in the blending process, with complementary and analogous colors placed nearby for easy mixing.
Practical Tips for Mixing Paints
1. Use a Palette Knife: A palette knife is essential for thoroughly mixing paints. It ensures that the pigments and mediums are fully integrated, resulting in a smooth and consistent mixture.
2. Mix Small Quantities: Start with small amounts of paint to avoid waste and to test the resulting color. You can always mix more if needed.
3. Work from Light to Dark: When mixing colors, it’s often easier to add darker pigments to lighter ones. This gives more control over the final shade and prevents the color from becoming too dark too quickly.
4. Test the Color: Before applying the mixed paint to your canvas, test it on a scrap piece of paper or a corner of the canvas to see how it looks when dry.
5. Clean Tools Between Colors: To avoid contamination, clean your palette knife and mixing area between colors. This helps maintain the purity of each color on your palette.
In conclusion, taking the time to properly prepare and mix paints before starting a painting is a vital step in the artistic process. It not only enhances the quality and consistency of the artwork but also allows for greater creativity and control. By understanding and applying the principles of color mixing, artists can achieve the precise hues and effects they envision, leading to more compelling and professional results.
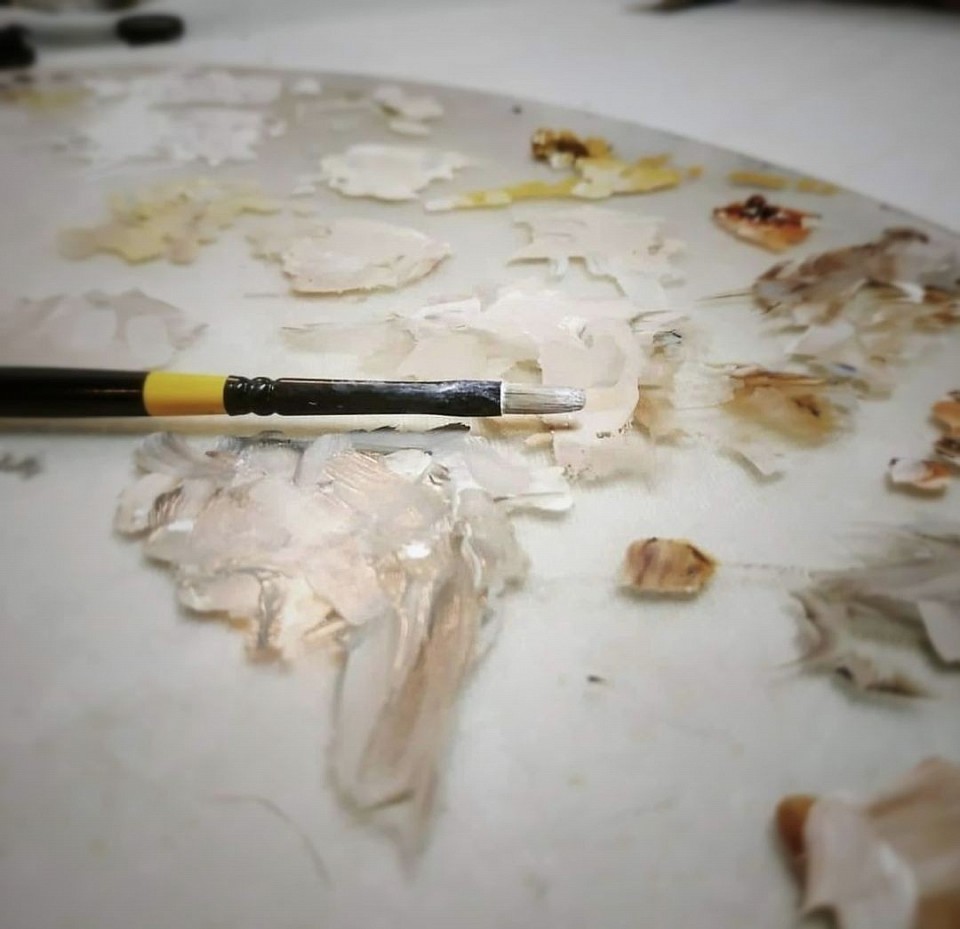
Tia's mixing plate.
The Power of Immersive Art Sessions.
A once-a-week, three-hour art class offers a uniquely immersive experience that can be more beneficial than splitting that time into three separate one-hour sessions. Here's why:
Immersion and Flow
Art thrives on immersion. A three-hour block allows students to fully dive into their creative process without the interruption of packing up and moving on after just one hour. This extended period fosters a state of "flow," where artists lose track of time and become deeply absorbed in their work, leading to more meaningful and productive sessions.
Complex Projects
Larger or more complex art projects require more time than a single hour allows. A longer class lets students engage with these projects more thoroughly, enabling them to experiment, make mistakes, and refine their techniques without feeling rushed. This encourages patience and persistence, key traits for artistic growth.
Skill Development
Three uninterrupted hours provide a better opportunity for skill development. Whether it's mastering a new painting technique or sculpting a detailed figure, the extended time allows for sustained practice and immediate correction of mistakes. Instructors can provide more comprehensive feedback and guidance, leading to a deeper understanding of the medium.
Less Disruption, More Focus
Meeting once a week reduces the frequency of disruptions in students' schedules, making it easier to remember and prepare for class. It also means fewer transitions between different activities throughout the week, allowing students to mentally prepare and focus better during their art class.
Community and Collaboration
Longer sessions foster a sense of community between teacher and student. With more time together, they can engage in meaningful discussions, collaborate on projects. This extended interaction builds stronger relationships and a supportive learning environment, enhancing the overall experience.
Reflection and Improvement
The time between weekly classes gives students a chance to reflect on their work and think about their next steps. This reflection period is crucial for artistic growth, allowing students to process what they've learned and come back with fresh ideas and perspectives.
In-Depth Exploration
A three-hour session allows for in-depth exploration of themes, techniques, and mediums. Instructors can plan more comprehensive lessons, integrating art history, theory, and practical application in a way that's not feasible in shorter sessions.
In summary, a once-a-week, three-hour art class provides a richer, more immersive learning experience that better supports deep engagement, complex projects, skill development, community building, and reflective growth.
Raia's palette board.
The Artist's Guide to the Doodle Grid Method.
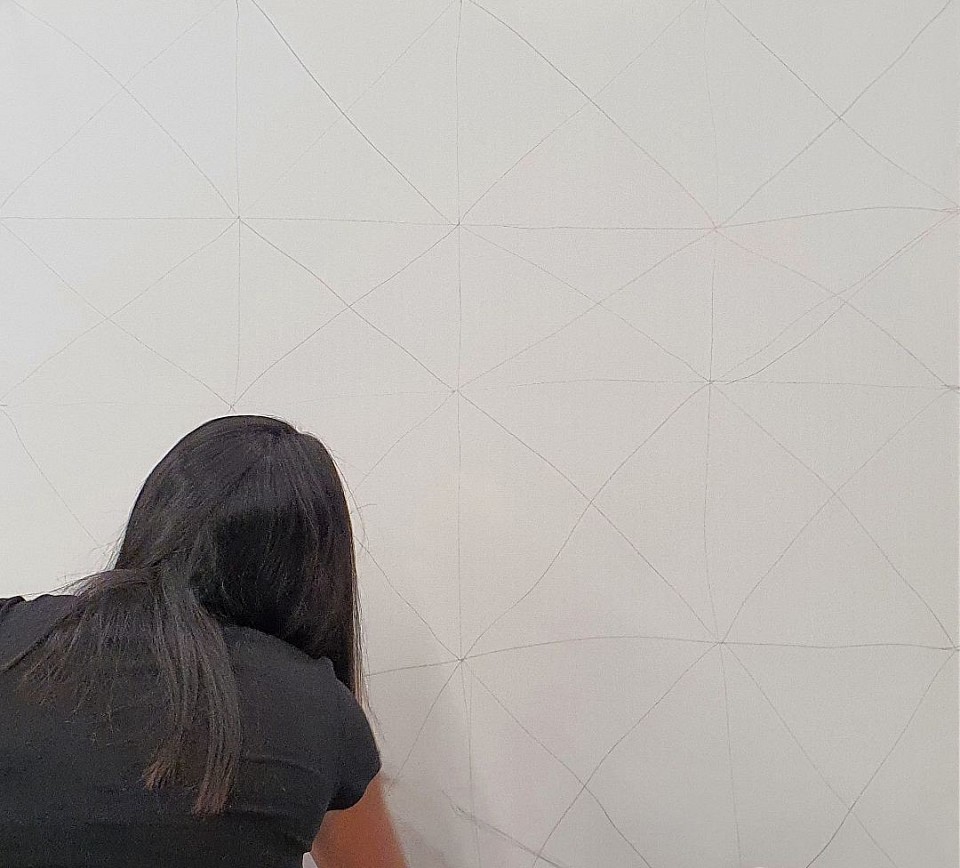
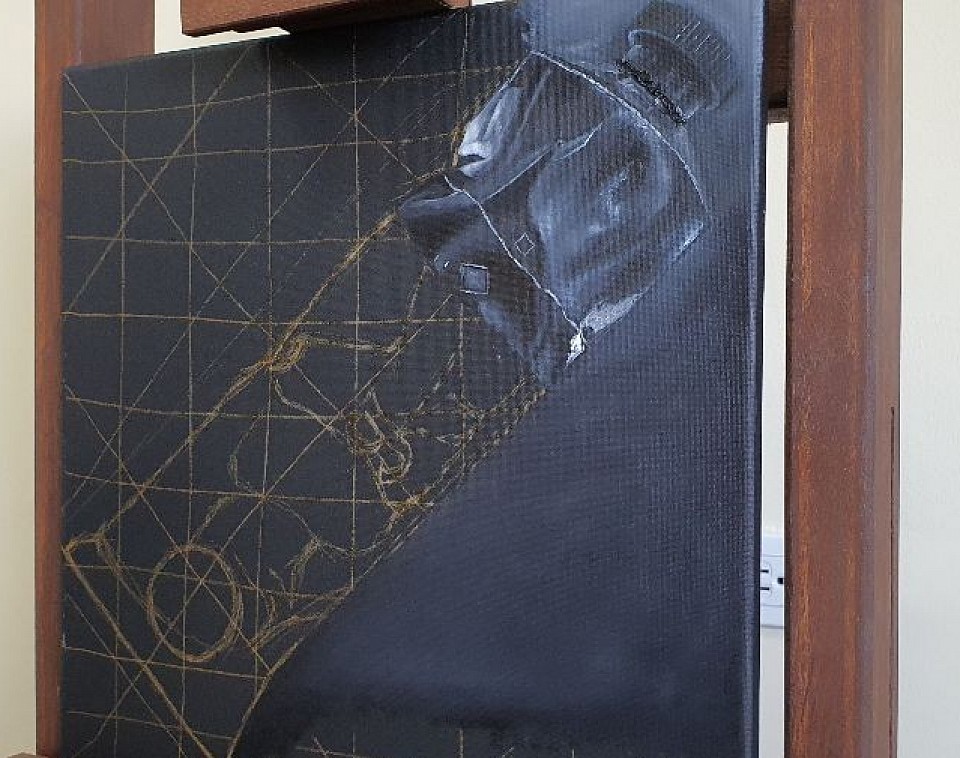
Tia, doing some preliminary sketches on a large canvas.
Doodle Grid Method: Techniques and Procedure.
The Doodle Grid method is a versatile and accessible technique used primarily in mural creation and large-scale art projects. Here’s a step-by-step guide on how to use this method
Materials Needed:
- Large surface (wall, canvas)
- Pencil or chalk
- Reference image
- Camera or smartphone
Procedure:
1. Prepare the Surface:
- Ensure your surface is clean and primed if necessary.
- Draw a loose grid, lines, shapes, emoji's, lightly with a pencil or chalk on the surface. This should be faint to avoid interfering with the final artwork.
2. Doodle on the Grid:
- Randomly draw on the surface. These doodles will serve as unique reference points.
3. Prepare Your Reference Image:
- take a photo of the canvas with a lazy doodle grid, Open any photo editing app then import the image and select lock tool.
- add a new layer then import the image that you want to paint on the canvas, reduce the opacity to 30% then resize it according to your preference.
4. Transfer the Image:
- Use the doodles as guides. Each doodle in the reference grid corresponds to a doodle on your surface. This helps you accurately transfer the details of the reference image to the larger surface.
- Focus on one area at a time, replicating the details and proportions from the reference image to the corresponding square on your surface.
5. Outline and Refine:
- Once the entire image has been transferred, outline the major shapes and forms with a darker pencil or marker.
- Erase the grid lines and doodles gently if they interfere with the final artwork.
6. Complete the Artwork:
- Begin filling in details, adding colors, and refining the artwork until you achieve the desired outcome.
- For murals, use appropriate paints and brushes suitable for the surface you are working on.
Tips:
- Practice: Before starting on the final surface, practice the Doodle Grid method on a smaller scale.
- Accuracy: Ensure your grid squares are equal in size to maintain the correct proportions.
- Lighting: Good lighting is essential for seeing the grid and doodles clearly.
- Patience: Take your time with the transfer process to ensure accuracy and detail.
The Doodle Grid method is an effective way to scale up images while maintaining proportional accuracy, making it a favorite among muralists and large-scale artists.
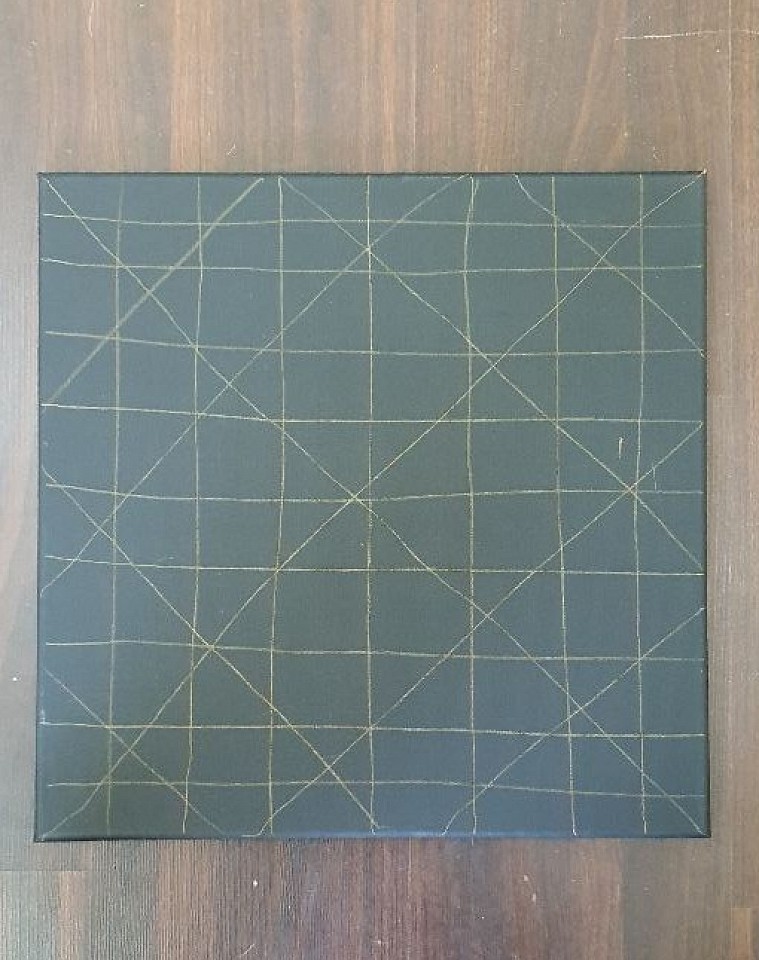
Canvas with loose grid lines.
The reference.
Super imposed images using sketchbook app.
Work in progress.
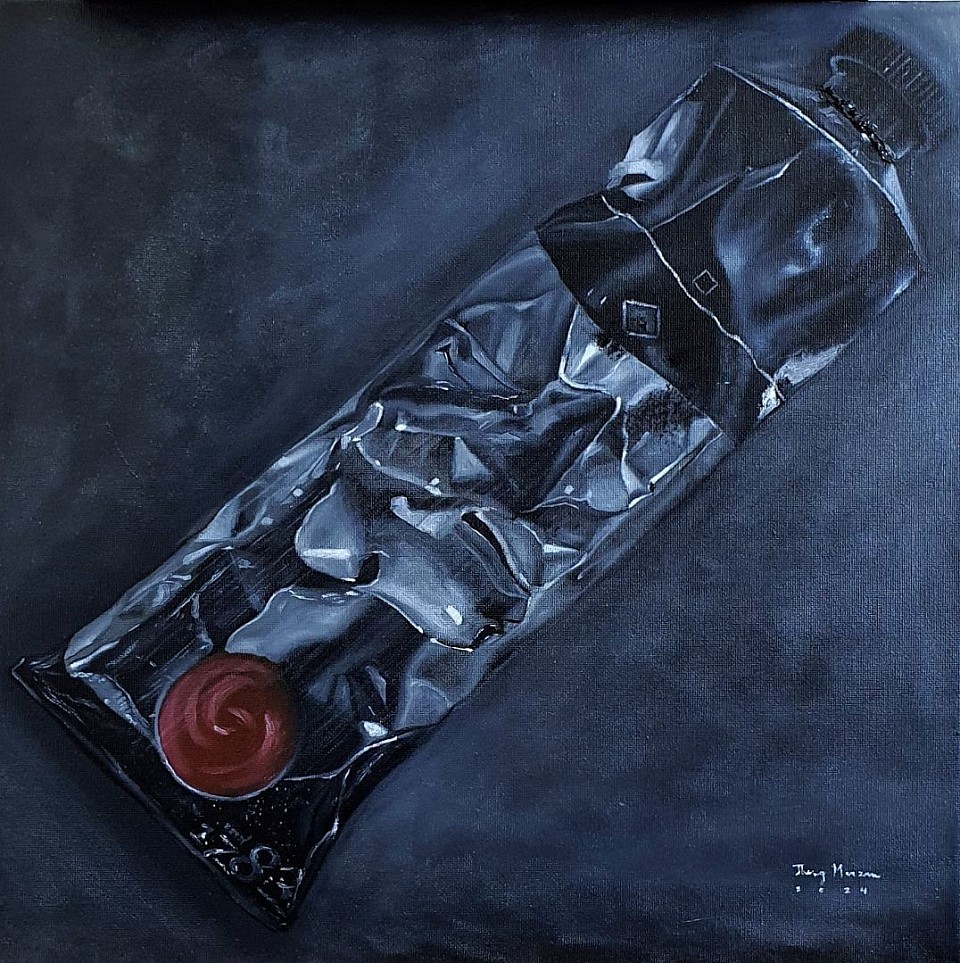
Finished artwork.
Art Interact Workshop.
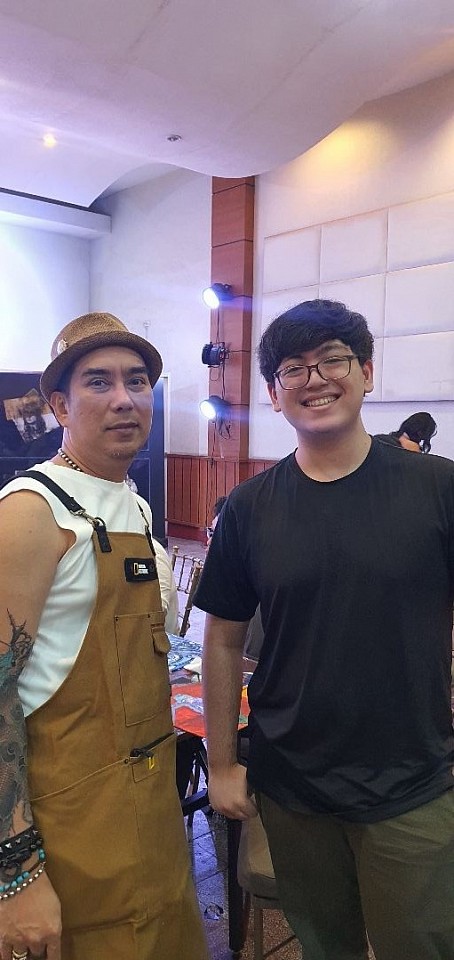
Ronald Ventura and kian Quintal.
Kian recently attended an art workshop led by renowned contemporary artist Ronald Ventura. The event, held in National Museum of Fine Arts, was a gathering of art enthusiasts eager to learn from Ventura's expertise. Kian had the opportunity to engage directly with the artist, gaining insights into his creative process and techniques. The hands-on session allowed Kian to explore new artistic methods and deepen his appreciation for contemporary art. Meeting Ventura in person was a highlight, making the workshop an unforgettable experience that will undoubtedly inspire Kian's future artistic endeavors.

with visual artist Manok Ventura and Igan d'bayan
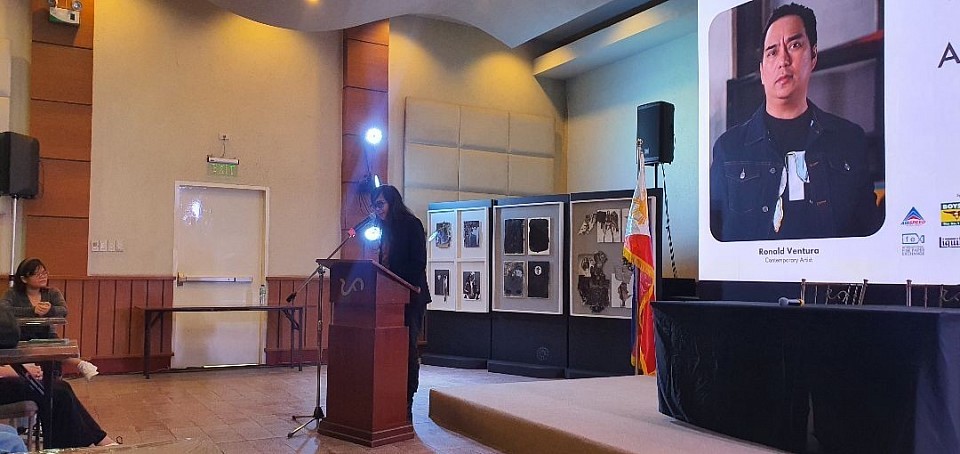
Igan D' Bayan, a prominent figure in the art community, introduced the renowned contemporary artist Ronald Ventura.
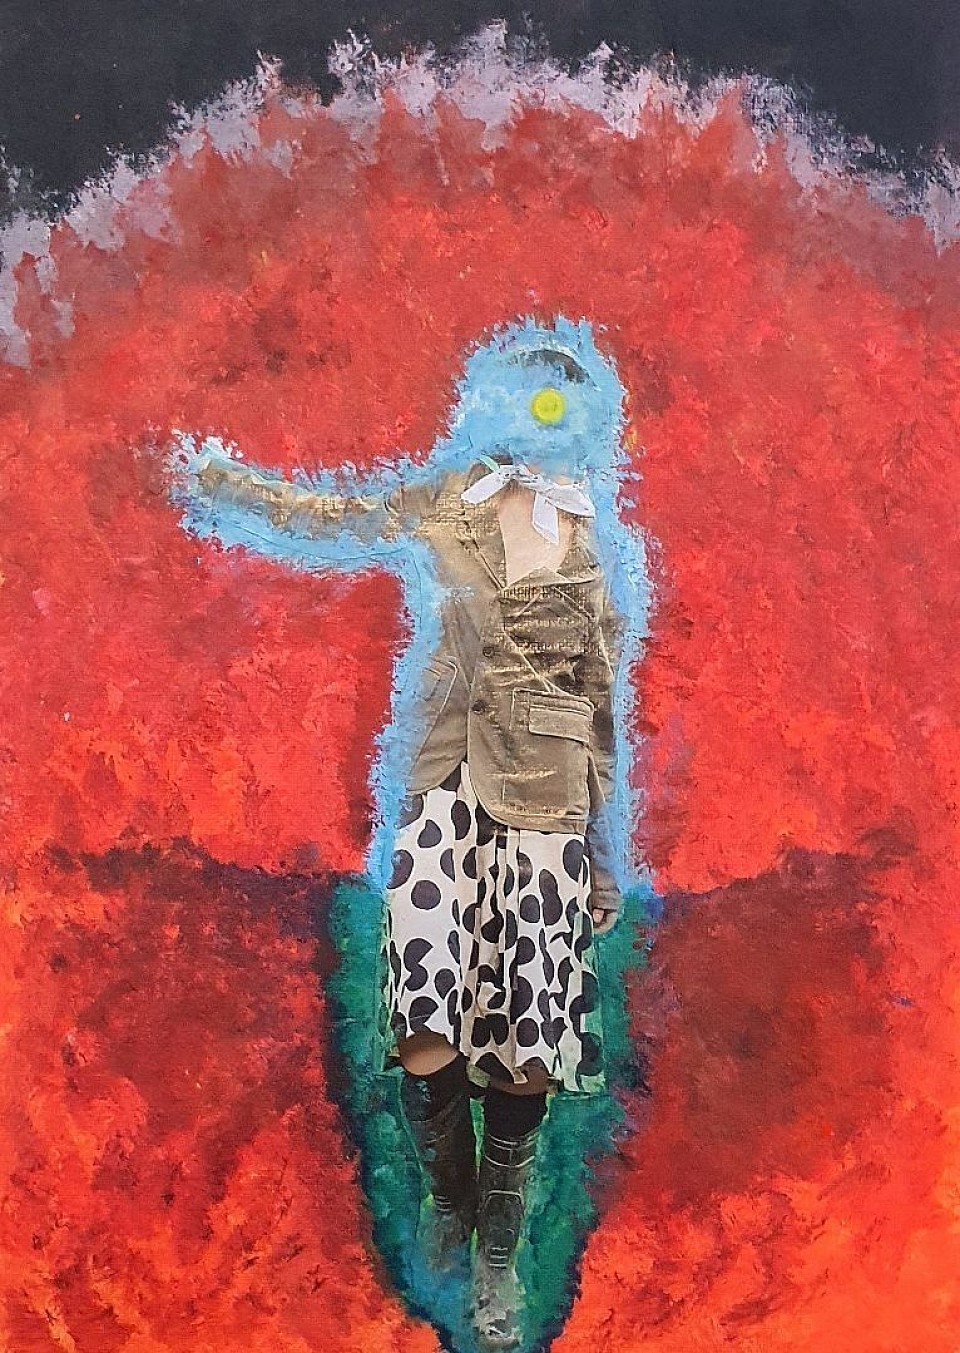
Kian's art piece after the workshop.
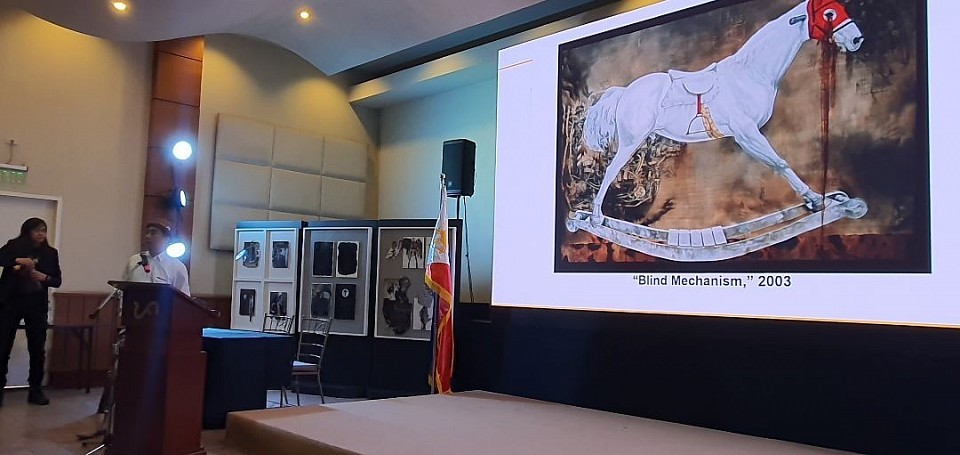
Ventura, known for his intricate and thought-provoking pieces, stood as a focal point of the event, underscoring the ongoing evolution and vibrancy of contemporary art. The event celebrated Ventura's artistic journey and provided a platform for art enthusiasts to engage with his innovative vision.
Choosing the Right Brushes for Painting.
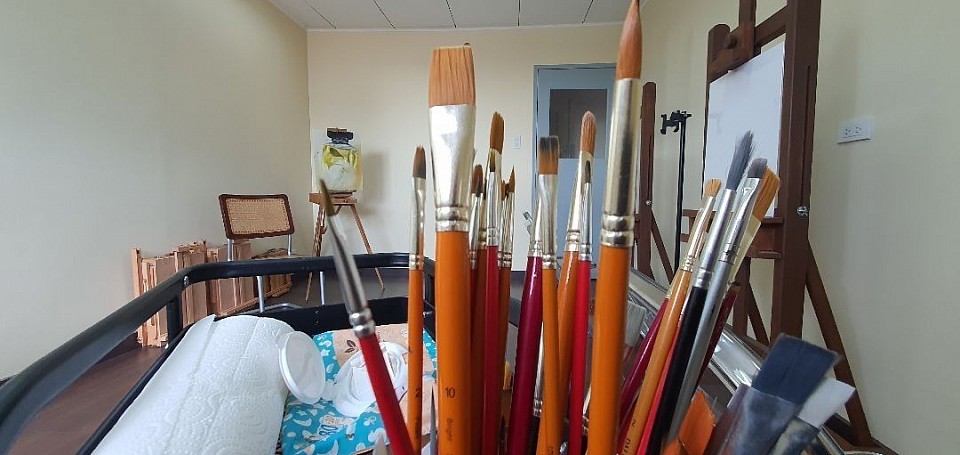
When painting, the choice between small brushes and large brushes significantly impacts both technique and the final result. Here's an in-depth look at the differences:
Precision and Detail
Small Brushes:
Control: Small brushes offer greater control, allowing the artist to create fine details and intricate designs. This precision is essential for painting small areas, delicate lines, and subtle nuances.
Usage: They are ideal for detailed work such as facial features, fine textures, and detailed backgrounds. Artists often use them for layering and glazing to achieve depth and realism.
Large Brushes:
Coverage: Large brushes cover more surface area quickly, making them perfect for broad strokes and large-scale applications. They are excellent for blocking in background colors and initial layers of a painting.
Fluidity: The broader strokes of large brushes contribute to a sense of movement and fluidity in the artwork. They allow for expressive, gestural marks that can convey emotion and energy.
Technique and Style
Small Brushes:
Technique: Artists using small brushes often employ meticulous techniques, focusing on the subtleties of light, shadow, and texture. Techniques like stippling, cross-hatching, and fine line work are common.
Style: These brushes are favored in realistic and hyper-realistic styles where detail and precision are paramount. They support the creation of lifelike imagery with high attention to minute elements.
Large Brushes:
Technique: Large brushes encourage bold, sweeping motions and a looser painting style. Techniques such as impasto (thickly applied paint) and broad washes are typical.
Style: They are commonly used in impressionistic and abstract styles where the emphasis is on capturing the essence and overall feel of the subject rather than detailed accuracy. Large brushes help convey mood and atmosphere effectively.
Time and Efficiency
Small Brushes:
Time-Consuming: Working with small brushes can be time-intensive due to the detailed nature of the work. Each stroke must be carefully placed, which can extend the time needed to complete a piece.
Precision: Despite the time requirement, the ability to achieve fine detail makes small brushes indispensable for certain aspects of a painting.
Large Brushes:
Efficient: Large brushes allow artists to quickly lay down initial layers and cover large areas, making them time-efficient for the early stages of a painting.
Foundation: They provide a strong foundation upon which finer details can be added later using smaller brushes.
Application in Mixed Brushwork
Combined Use: Artists often combine both small and large brushes within a single piece. Large brushes may be used to establish the groundwork and general composition, while small brushes refine the details and add finishing touches.
Versatility: This combination allows for a balanced approach, ensuring that the artwork has both the broad, dynamic strokes of large brushes and the intricate detail achievable with small brushes.
Conclusion
The choice between small and large brushes depends on the desired effect, the artist's technique, and the style of the artwork. Small brushes excel in precision and detail, essential for realistic and intricate work. In contrast, large brushes provide broad coverage and expressive strokes, crucial for dynamic and impressionistic styles. Mastery of both brush types and understanding their applications can greatly enhance an artist's versatility and ability to convey their creative vision.
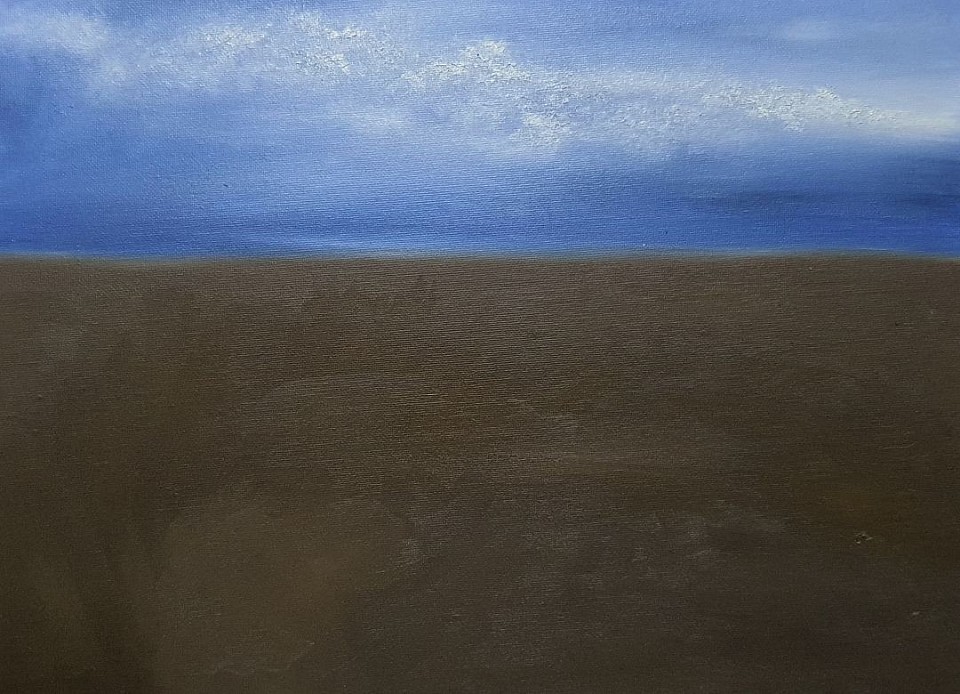
An example of mixed brushwork. Upper part ( small round brush ) foreground ( flat brush )
